
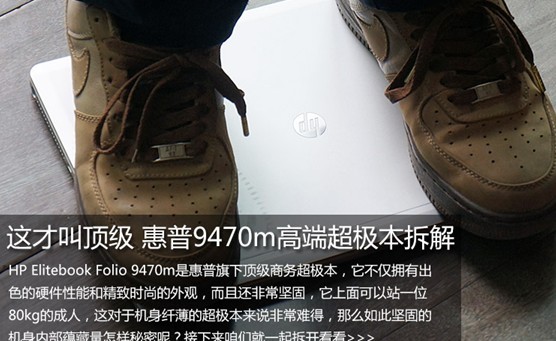
HP Elitebook Folio 9470m是惠普旗下最新顶级商务超极本,它不仅拥有出色的硬件性能和精致时尚的外观,而且还非常坚固,它上面可以站一位80kg的成人,这对于机身纤薄的超极本来说非常难得,那么如此坚固的机身内部蕴藏量怎样秘密呢?接下来咱们就一起拆开看看。
做工真不错 惠普9470M超极本拆解
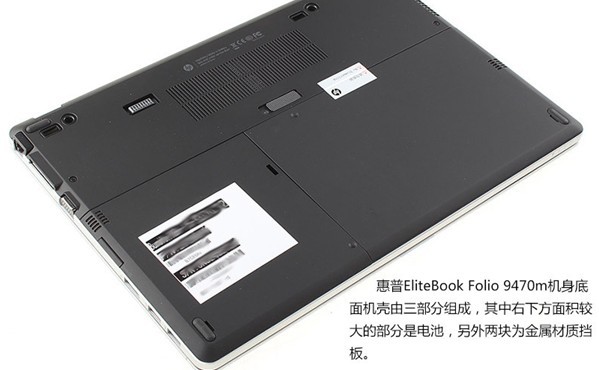
惠普EliteBook Folio 9470m机身底面机壳由三部分组成,其中右下方面积较大的部分是电池,另外两块为金属材质挡板。
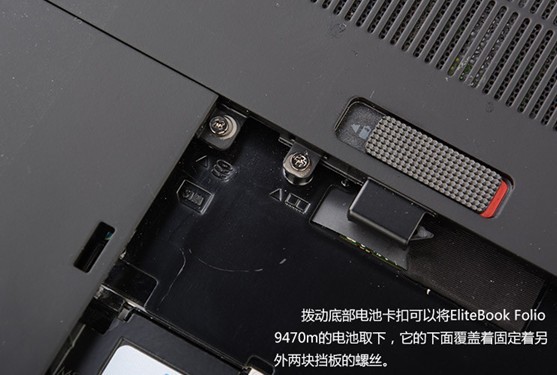
拨动底部电池卡扣可以将EliteBook Folio 9470m的电池取下,它的下面覆盖着固定着另外两块挡板的螺丝。

PreviousNext EliteBook Folio 9470m配置52Wh锂离子聚合物电池,它镶嵌在金属材质机壳上。
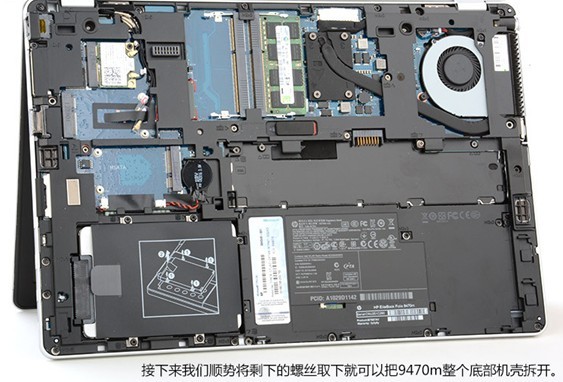
PreviousNext 接下来我们顺势将剩下的螺丝取下就可以把9470m整个底部机壳拆开。
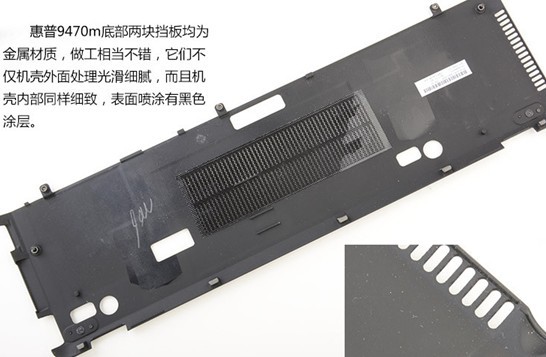
PreviousNext 惠普9470m底部两块挡板均为金属材质,做工相当不错,它们不仅机壳外面处理光滑细腻,而且机壳内部同样细致,表面喷涂有黑色涂层。
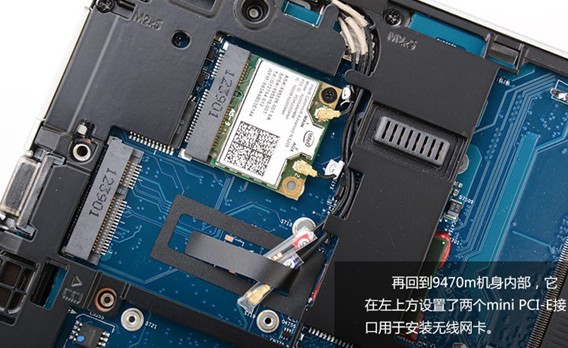
PreviousNext 再回到9470m机身内部,它在左上方设置了两个mini PCI-E接口用于连接无线网卡。
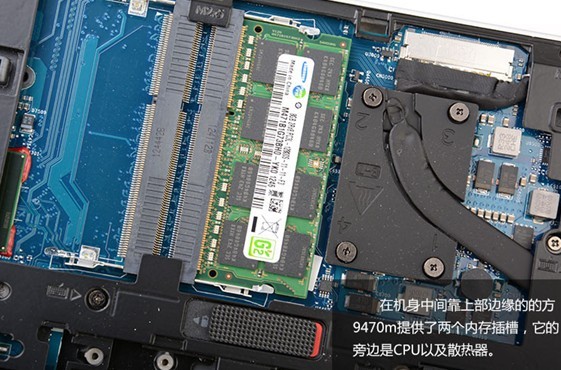
PreviousNext 在机身中间靠上部边缘的的方9470m提供了两个内存插槽,它的旁边是CPU以及散热器。
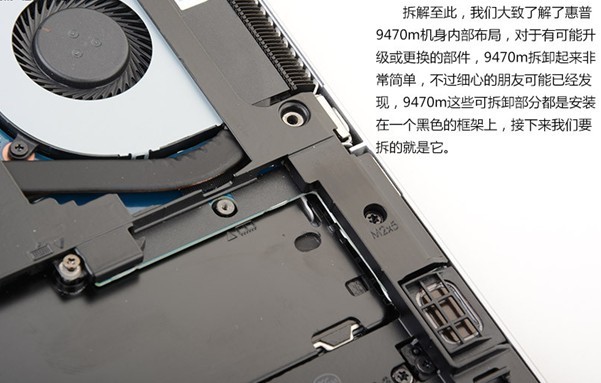
PreviousNext 拆解至此,我们大致了解了惠普9470m机身内部布局,对于有可能升级或更换的部件,9470m拆卸起来非常简单,不过细心的朋友可能已经发现,9470m这些可拆卸部分都是安装在一个黑色的框架上,接下来我们要拆的就是它。
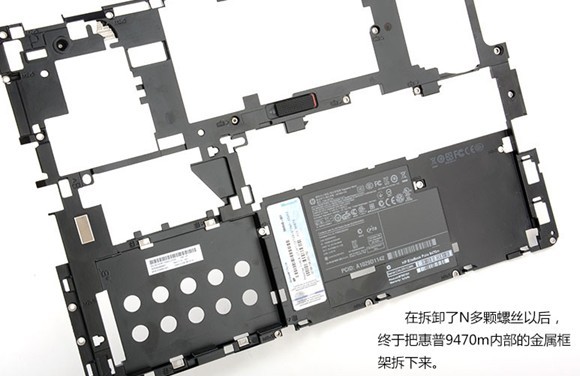
PreviousNext 在拆卸了N多颗螺丝以后,终于把惠普9470m内部的金属框架拆下来。
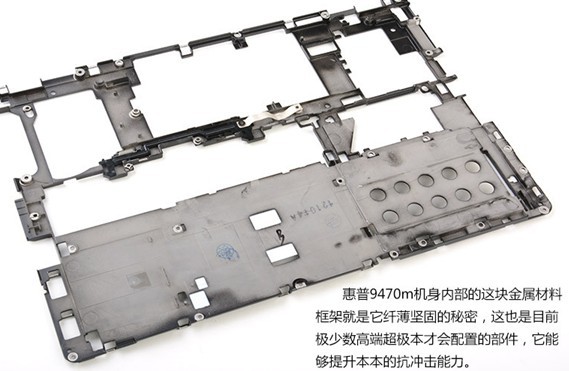
PreviousNext 惠普9470m机身内部的这块金属材料框架就是它纤薄坚固的秘密,这也是目前极少数高端超极本才会配置的部件,它能够提升本本的抗冲击能力。
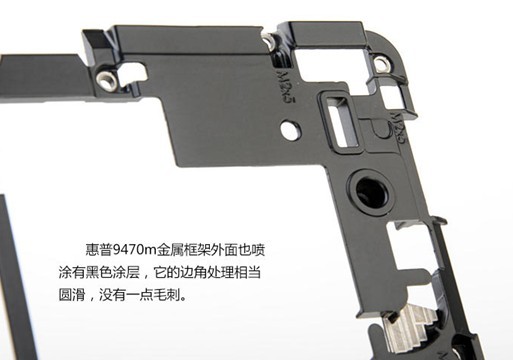
PreviousNext 惠普9470m金属框架外面也喷涂有黑色涂层,它的边角处理相当圆滑,没有一点毛刺。
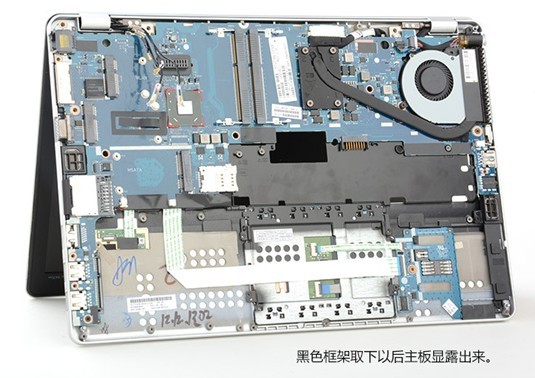
PreviousNext 黑色框架取下以后主板显露出来。
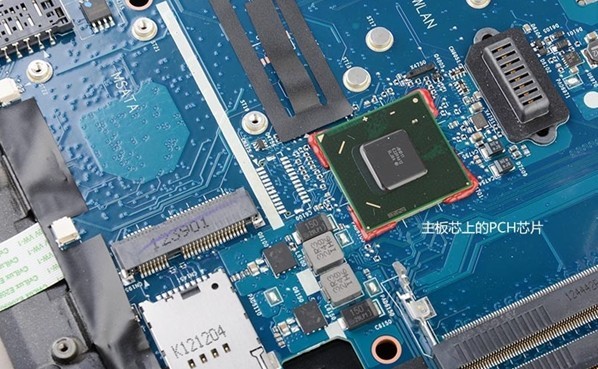
PreviousNext 主板芯上的PCH芯片
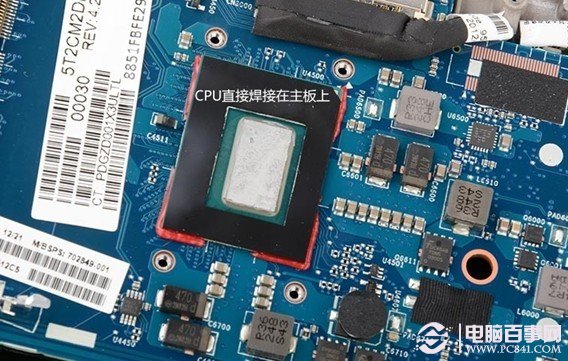
PreviousNext CPU直接焊接在主板上
PreviousNext 惠普9470m主板的面积要比我们之前拆解的Spectre XT Pro大许多,各种元器件的排布比较宽松。

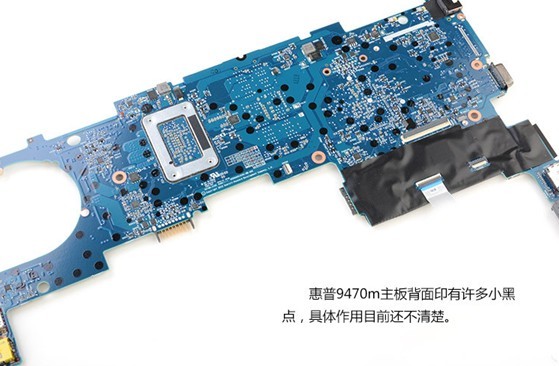
PreviousNext 惠普9470m主板背面印有许多小黑点,具体作用目前还不清楚。
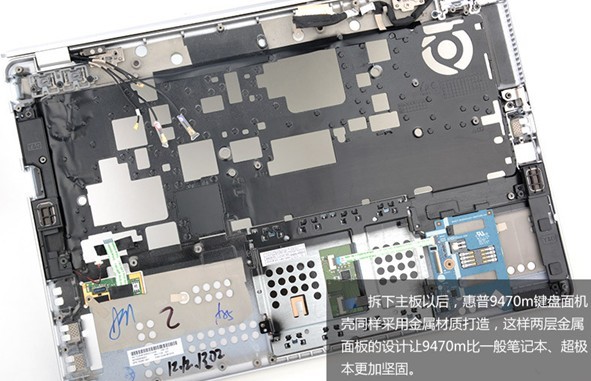
PreviousNext 拆下主板以后,惠普9470m键盘面机壳同样采用金属材质打造,这样两层金属面板的设计让9470m比一般笔记本、超极本更加坚固。
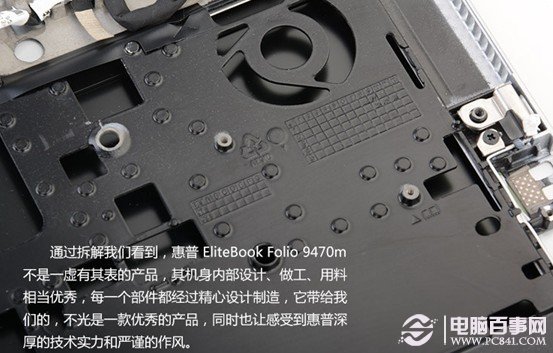
PreviousNext 通过拆解我们看到,惠普 EliteBook Folio 9470m不是一虚有其表的产品,其机身内部设计、做工、用料相当优秀,每一个部件都经过精心设计制造,它带给我们的,不光是一款优秀的产品,同时也让感受到惠普深厚的技术实力和严谨的作风。
做工真不错 惠普9470M超极本拆解
