
很多朋友由于工作需要,要在电脑上安装SQL Server 2005数据库软件。而SQL Server的安装还有点小麻烦的,因为其要开启Windows的IIS服务功能,并且安装设置步骤也比较多SQL2005怎么安装呢?今天百事网小编瑞特就来给大家讲一下SQL Server2005安装图解教程。
SQL 2005怎么安装 SQL Server 2005安装图解教程
以下我们演示的是Win7系统下安装SQL Server 2005,Win8系统的安装方法也与此相同。
操作系统:Microsoft Windows 7 旗舰版(32位)
数据库版本:SQL Server 2005 简体中文开发板
安装过SQL Server的人可能知道,它的有些服务要依赖于IIS,所以为了保证数据库的顺利安装,先启用IIS服务吧!Win7比XP好的一点是:启用IIS功能无需借助系统安装盘了,只要在控制面板里启用即可,如下:
1、首先进入Win7控制面板,然后选择进入“程序和功能”如下图所示:
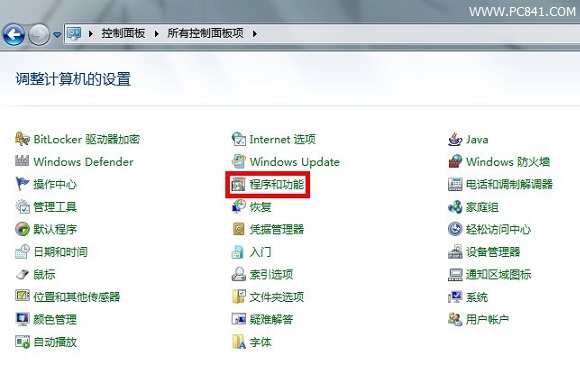
开启Win7 IIS服务方法步骤1
2、选择进入“打开或者关闭Windows功能”入口,如下图所示:
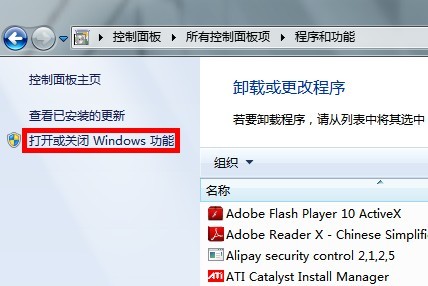
选择打开或者关闭Windows功能
3、选择开启IIS服务
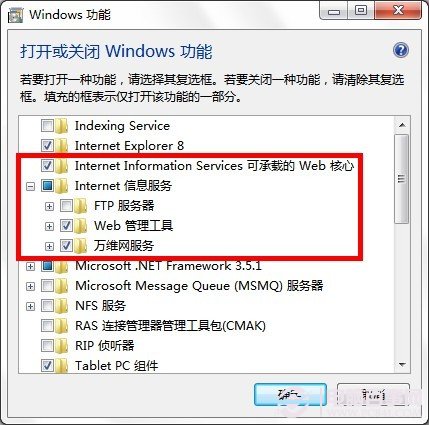
Win7开启IIS服务方法
第三步需要注意的是,选中红框中的复选项,分别为“Internet Information Services 可承载的 Web 核心”、“Web 管理工具”和“万维网服务”,这里我不确定“Web 管理工具”是否需要,因为我选中它们的父节点“Internet 信息服务”后选中了它的一些子项,多选总比少选全面,需要将它们的子项全部选中才显示为“√”,否则显示为“■”,记住,一定要显示为“√”才行,效果就和step3一样就可以了!点击确定后会出现线面的框框。

开启IIS服务中
如果我们不启用IIS功能,在后续安装SQL Server时会遇见如图界面:
未开启IIS服务将导致无法完成SQL Server安装
到此,IIS功能就算启用完成了,下面开始安装SQL Server数据库软件了。
SQL Server 2005安装文件解压后是一个ISO的镜像,其实是一个DVD文件,将两张光盘合并到一起了,所以你的电脑需要安装虚拟光驱,虚拟光驱不会用请先百度一下,我就不在这里赘述了。
首先启动虚拟光驱软件,把SQL Server 2005的镜像加载进来,如图
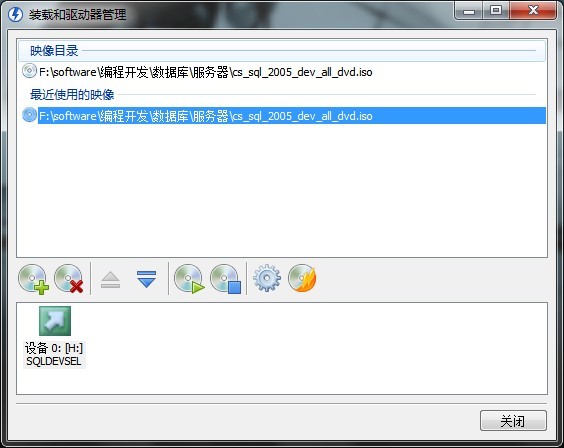
加载SQL Server 2005镜像
此时我们可以在我的电脑里看到这张虚拟的安装盘了,如图
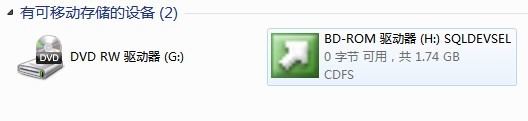
SQL Server 2005安装图解
如果没有自动运行,那么我们就点双击H盘图标,进入安装,如下图所示:
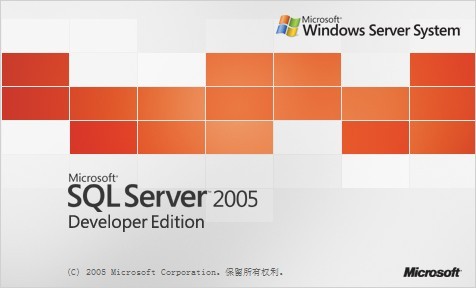
图为SQL Server 2005安装界面
紧接着进入如下画面
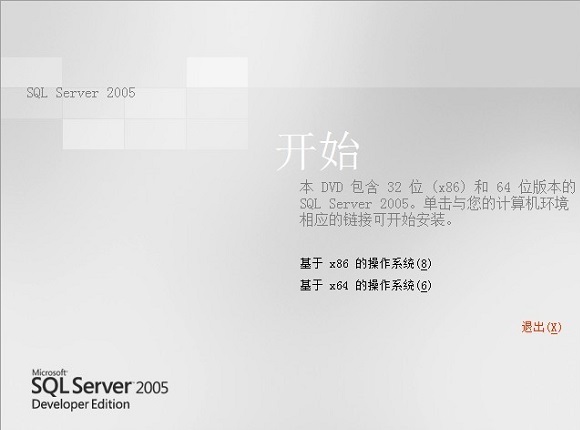
图为SQL Server 2005安装下一步界面
由于笔者的电脑系统是32位的,因此自然选择基于x86的,之后点击“服务器组件、工具、联机丛书和示例(C)”,如下图所示:
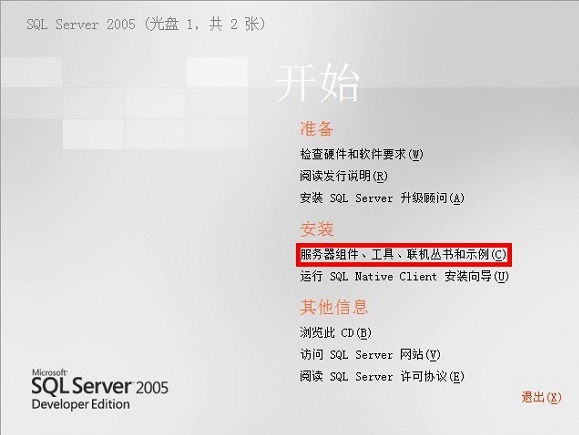
SQL Server 2005安装示意图解
紧接着弹出对话框,点击“运行程序(R)”,如图:
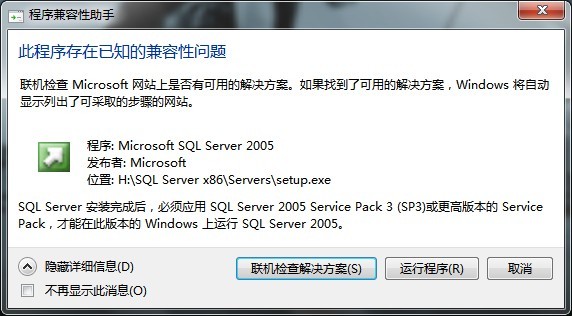
选择运行程序
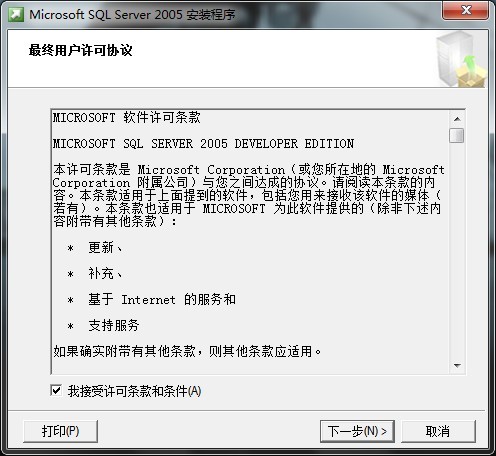
接着出现,勾选“介绍许可协议”然后点击下一步,如图:
安装程序会检查所需组件,点击“安装”
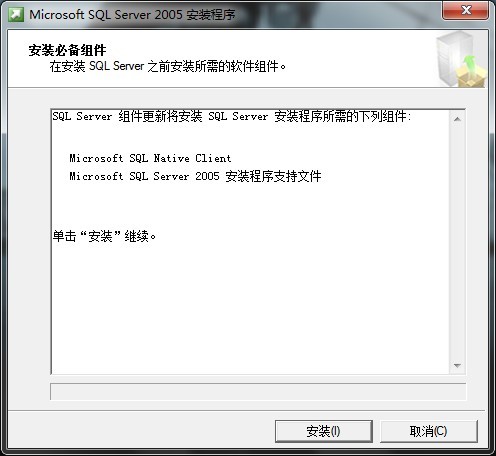
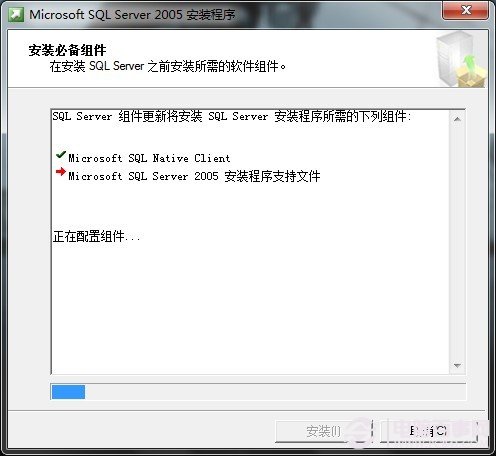
点击“安装”
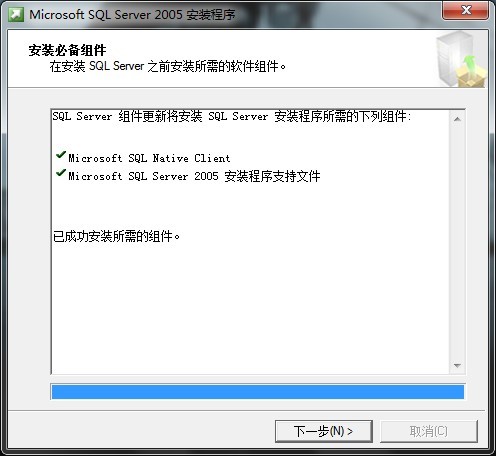
组件安装完成点击下一步
点击“下一步”后,安装程序会监测计算机配置,如下图:
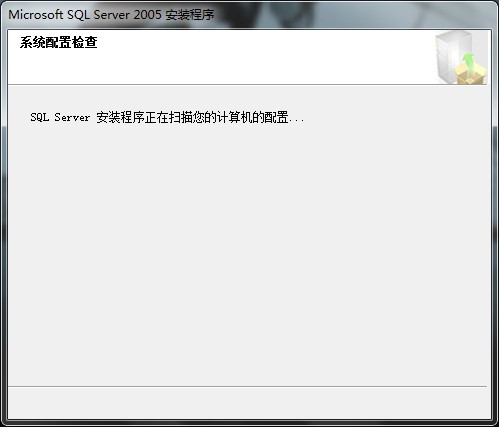
SQL Server 2005监测计算机配置
紧接着跳转为SQL Server 2005安装程序向导界面,如下图所示:
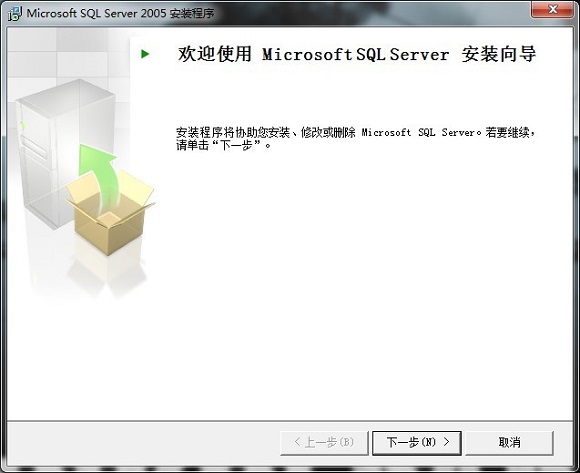
图为SQL Server 2005安装程序向导
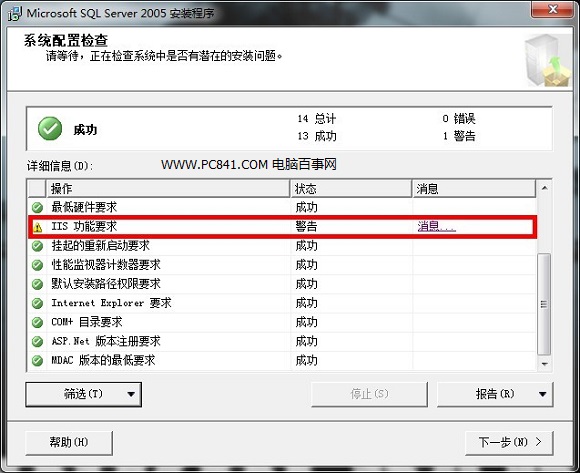
点击“下一步”进入系统配置检查,如下图:
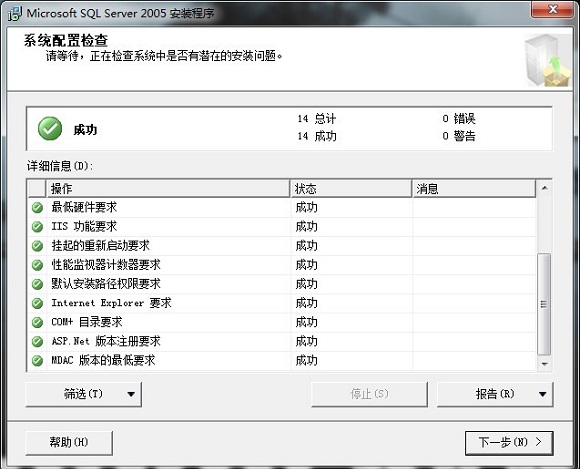
SQL Server 2005系统配置检查
我们看到,所有的项目都成功,如果之前没有启用IIS功能的话,出现的画面就是之前的那个样子。以上完成后,我们继续点击“下一步”,如下图所示:
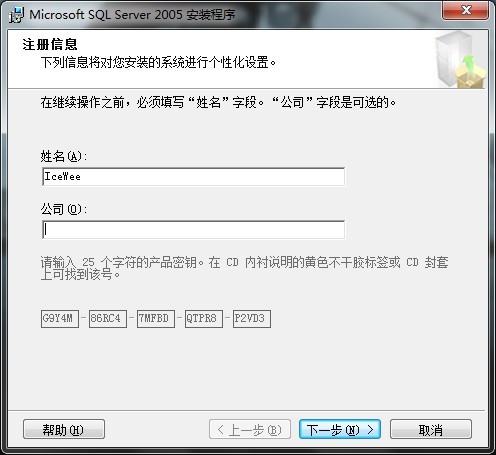
SQL Server 2005系统个性化设置界面
输入公司名后,完成后,继续点击“下一步”操作,进入组件选择安装界面,如下图:
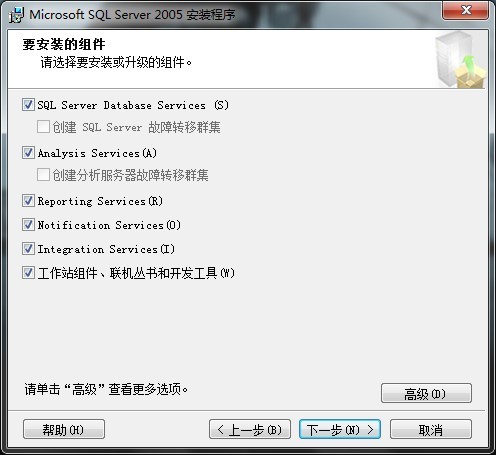
SQL Server 2005组件安装选择
这里需要注意,如果你的界面只有最后一个复选框可选,其他都为灰色不可选,那说明你的版本有问题,不是开发版,请马上放弃安装,从上面我给的下载地址下载开发板进行安装。全部选中后点击“下一步”
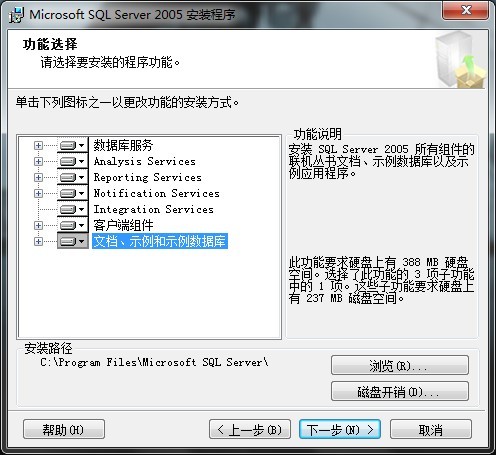
SQL Server 2005功能的选择
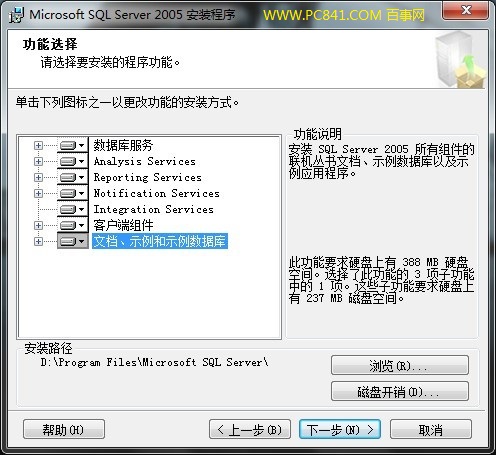
默认安装到系统盘下,我们可以点击高级进行修改,点击“浏览(R)”,我们可将“C”修改成了“D”,点击“确定”即可,如下图所示:
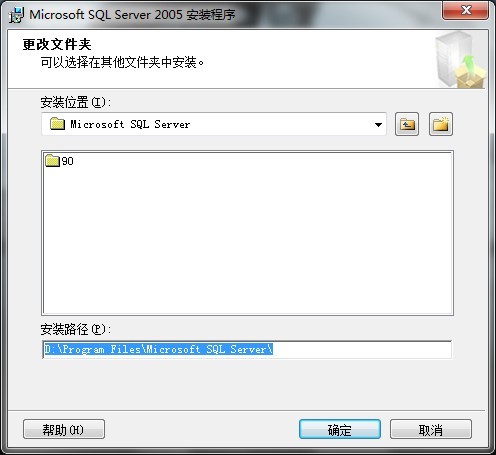
修改将SQL Server 2005安装到D盘
点击“下一步”如图:
我选择的“默认实例”,也可以选择“命名实例”,点击“下一步”
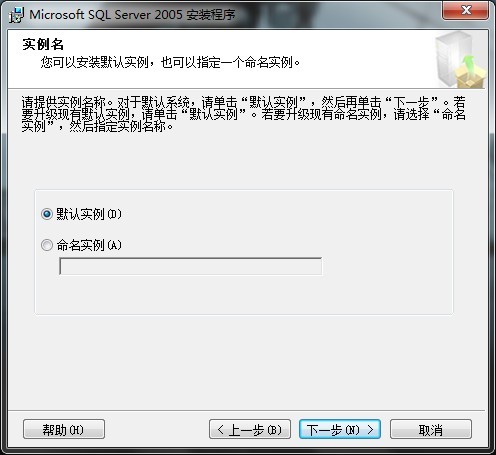
选择SQL Server 2005默认实例
一切默认,点击“下一步”,如下图所示:

SQL Server 2005服务账户设置
因为其他程序也可能连接数据库,所以选择“混合模式”,并键入sa密码,点击“下一步”,如下图所示:
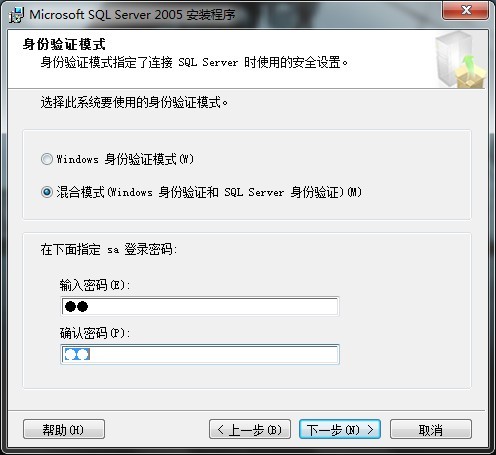
SQL Server 2005身份验证模式设置
接下来就一直默认,一路选择,下一步操作即可,如下图所示:
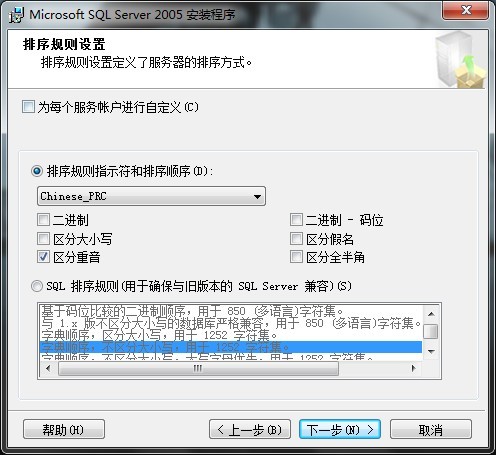
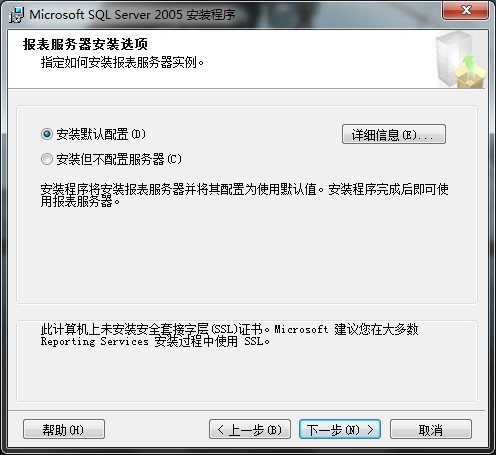


SQL Server 2005准备安装
#SQL Server 2005安装完成#e#
漫长的安装才刚要开始,点击“安装”,如下图所示:
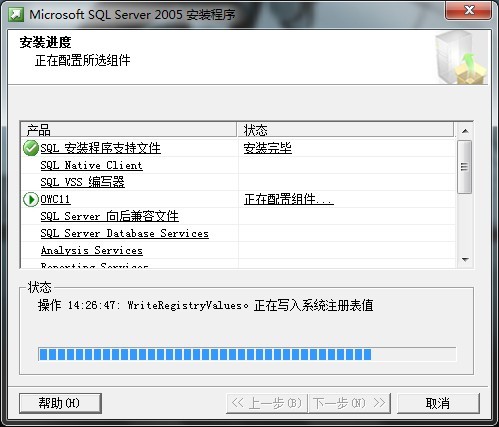
SQL Server 2005安装过程开始
以上安装过程会很耗时,请慢慢等待吧。安装中途,遇到的第一个弹出窗口,点击“运行程序(R)”,如下图:
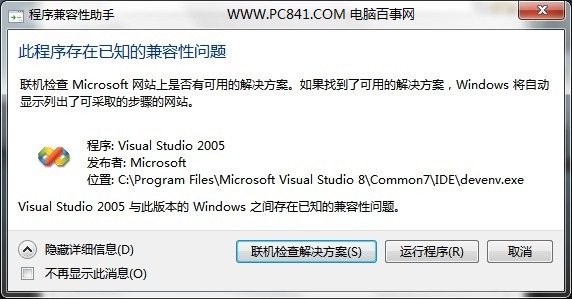
选择运行程序
安装了一会,结果又弹出,继续点击“运行程序(R)”
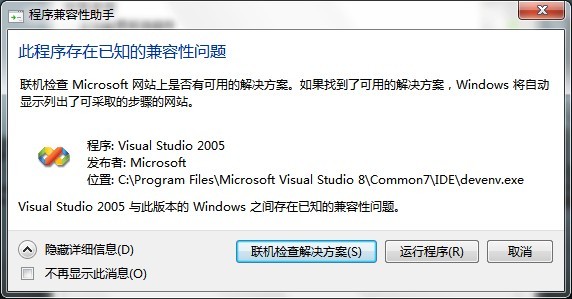
选择继续运行程序
所有模块都安装完毕了,点击“下一步”,即可,如下图所示:
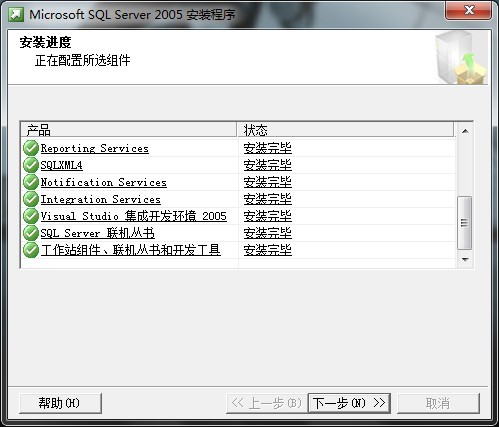
SQL Server 2005安装完毕
到这里SQL Server 2005安装就接近尾声了,点击“完成(F)”,如下图所示:
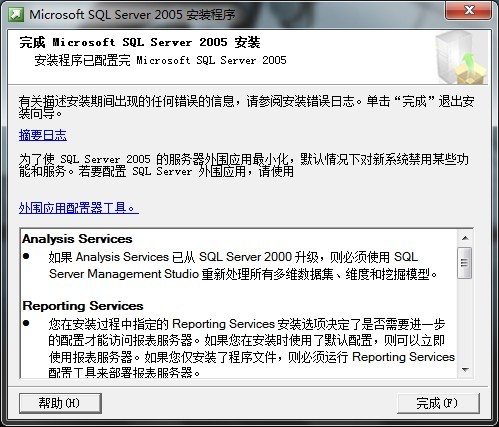
SQL Server 2005安装完成
#SQL Server 2005安装使用细节问题#e#
下图为安装成功后,运行程序的界面
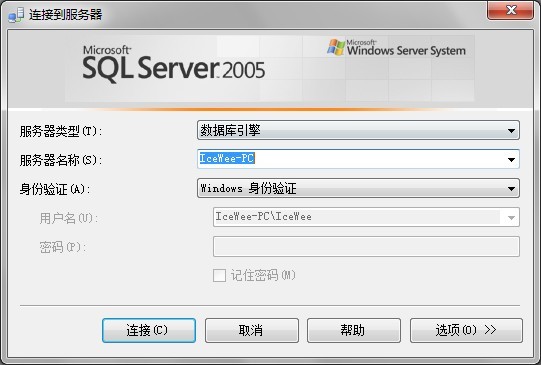
SQL Server 2005程序界面
这个界面是登陆到刚刚安装的数据库,因为安装的时候我们使用的是“默认实例”,也就是计算机名称,“IceWee-PC”是我的计算机名称,点击连接就登陆到数据库了。
我个人感觉安装SQL Server需要注意的地方有两点,一是IIS功能的启用,二是一定要选对安装版本,我第一次就下错了,下的企业版,结果就只能安装“工作站组件、联机丛书和开发工具”。
关于局域网内其他计算机要连接上这个数据库我也遇到了点小麻烦,折腾了半天才搞定。首先,系统防火墙和其他第三方防火墙,如360、QQ电脑管家、杀毒软件等,这个是常识了。其次,使用telnet命令进行连接,如果能够连上,那么肯定就能访问了,命令格式:telnet 数据库IP 1433
连不上就会出现如下画面,如下图所示:
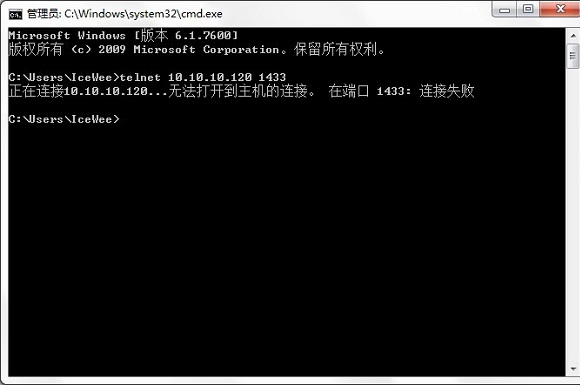
telnet 数据库IP
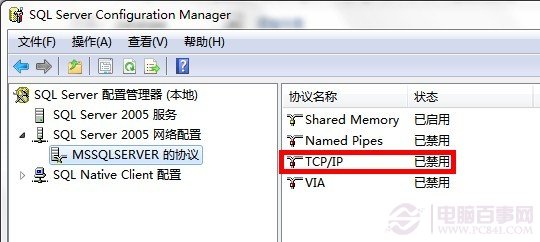
就为了能telnet上我的数据库,折腾了半天啊!折腾了半天!哈哈,最后终于解决了。从开始-》Microsoft SQL Server 2005-》配置工具-》SQL Server Configuration Manager,在弹出窗口中,按照下图点开左侧树,如下图所示:
SQL 2005怎么安装 SQL Server 2005安装图解教程
我们看到红框中的“TCP/IP”协议是“已禁用”状态的,我们把它启用后,再重启SQL Server就能telnet上了!
